In this post we will understand the Steps to create amazon EC2 instance. The prerequisite for this post is AWS account and good internet connectivity. Let’s understand to create an EC2 instance for Linus OS on AWS, an existing AWS account will be required and if not we can create new account. Please follow the below procedure to launch EC2 instance for Linux OS.
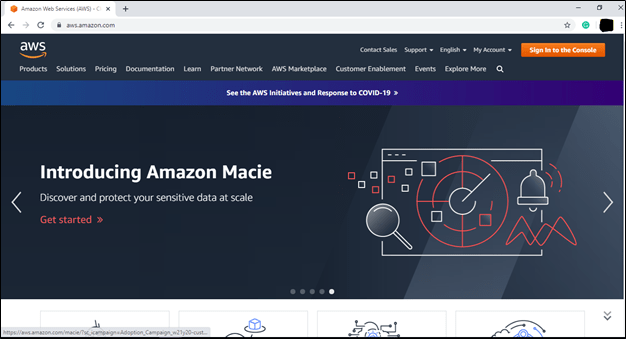
Step 1: To create an instance of EC2, we first need to navigate to www.aws.amazon.com and click on Sign in to the Console.
Step 2: Once you click on Sign in to the console, you will have to enter your credential (email address and password). If you have added your account into IAM user then select IAM user and continue or else if you don’t have an account then create the new account, you follow the steps mentioned in the previous post.

Step 3: After successful login, you will be navigated to the AWS Management Console. Please select the region as N. Virginia as you will get the latest update of any service if you are in this region.

Step 4: To create EC2 instance, in All Services section select EC2, on clicking it shows you the details of the number of running instances, volumes, Keypair, etc. As you can see in the below screenshot.

Step 5: When you click on the running instances, it will get you to the dashboard then click on Launch instance to create the new EC2 instance.

Step 6: Select configuration required for the machine as per your need, here we will see how to create EC2 instance with Linux OS. Choose an Amazon Machine Image, there several AMI available, we will be choosing Red Hat Enterprise Linux 8 (64bit). After selecting proper AMI according to your requirement and click on NEXT.

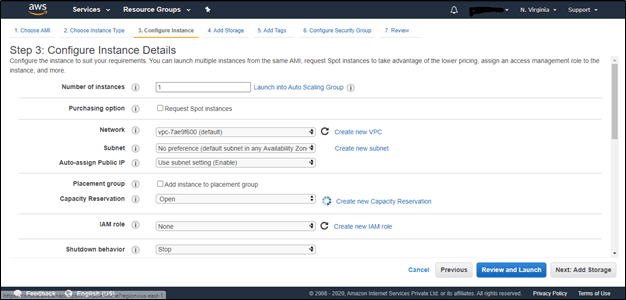
Step 7: Choose an Instance Type, for learning purposes we will be selecting t2.micro which is a free tier. Then click on Next to configure instance details.

Step 8: AWS will give you the default VPC network or you create your custom VPC but it will be chargeable even if you stop the EC2 instance.
Step 9: Click on Next to Add Storage, Maximum size that we can add is 30GB, above 30GB it is chargeable. So keep the minimum 10GB and click Next.

Step 10: Here you can add Key-Value to identify your EC2 Instance by a particular Value.

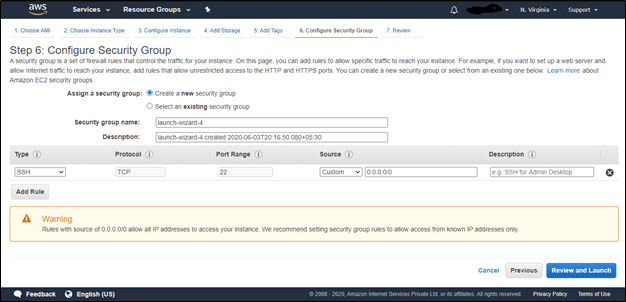
Step 11: On the Next click, you can configure security group to restrict the inbound and outbound traffic. If you have an existing security group then select the particular or you can create a new security group. The source you can change, 0.0.0.0/0 means it will allow traffic from anywhere.
Step 12: After configuring everything Review Instance Details and click on Launch.

Step 13: On Click on Launch, you need to generate the key pair, this key will be required to access your EC2 instance through SSH. The extension for download file will be in .pem, save it in your folder and click on Launch Instance.


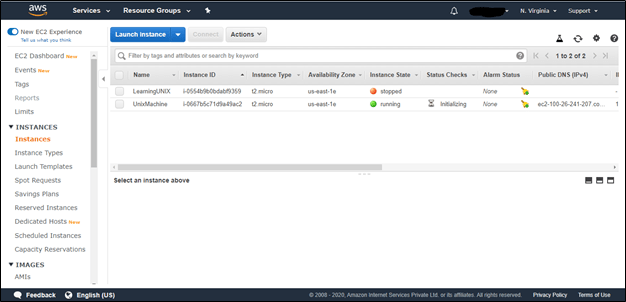
Step 14: On Click on View Instance, you can see your instance created with the mentioned configuration. The details of the selected instance can be seen below. After successfully creating an EC2 instance, download the putty.exe and puttygen.exe from http://www.chiark.greenend.org.uk/~sgtatham/putty/


Step 15: Run puttygen.exe to generate a putty private key (.ppk) from .pem.

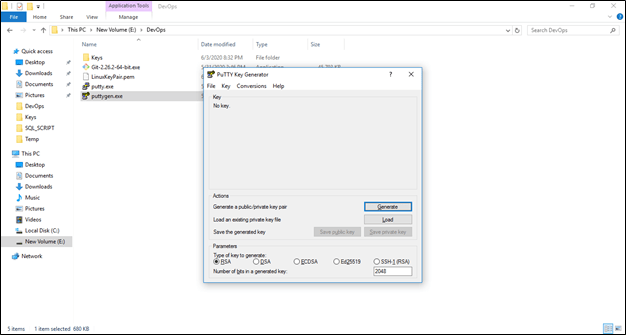
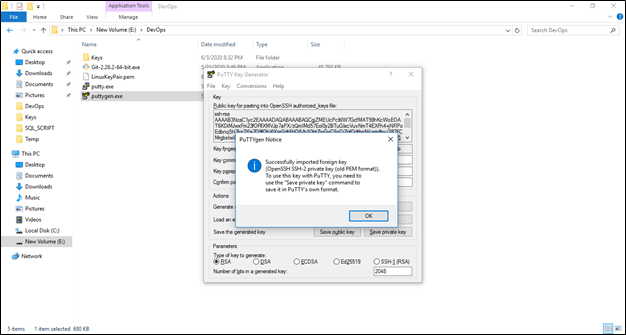
Step 16: Click on Load and select the .pem file when you downloaded it while launching the instance.

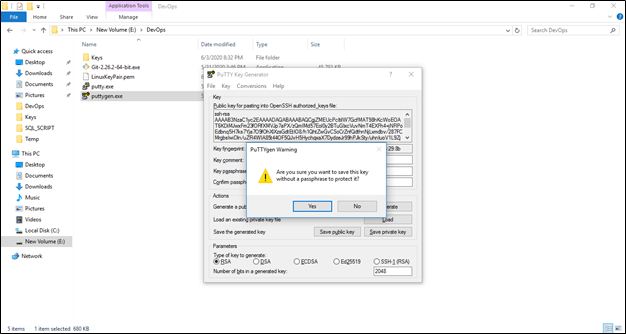
Step 17: Click on Ok and Save private key into the same file location, give a meaningful name to it.


Step 18: Copy the IPv4 Public IP to launch the Linux machine.

Step 19: Run putty.exe, mention the host name as ec2-user@public_ip that we copy from our EC2 dashboard, for SSH port number is 22. Save the Session by giving a name to it.

Step 20: Go to Connection > SSH > Auth, click on Browse to load our .ppk file which we downloaded from puttygen.
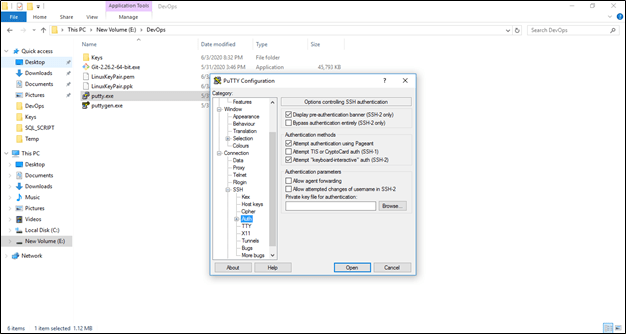
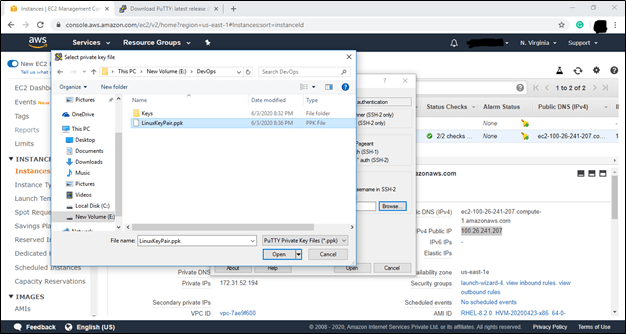

Step 21: Save the session and click Open.

Step 22: We will see an alert click on ‘Yes’, our EC2 machine with Linux OS will be running and also notice that the private IP of the EC2 machine.

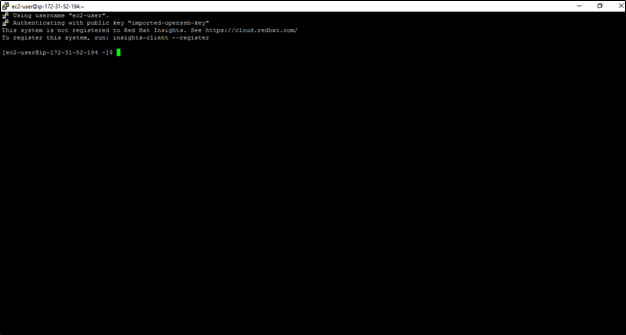

This is how we can create an EC2 instance for Linux OS.

One thought on “Steps to create amazon EC2 instance”