So in the previous tutorial we’ve seen What is DevOps, DevOps Lifecycle, Chef cookbook recipe. In this post we will be seeing how we can Install Java on our EC2 instance.
So let’s get started! Prerequisite of this tutorial is you should have AWS Account free tier will work.
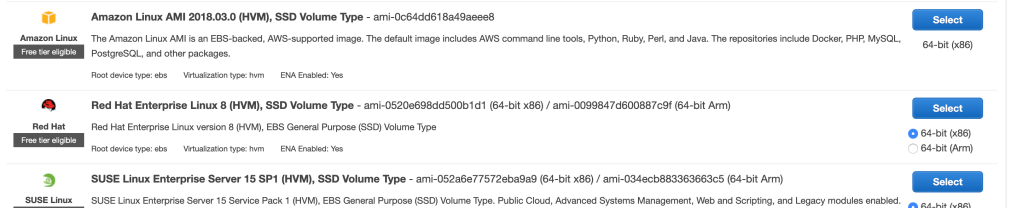
Step 1: Open AWS EC2 instance and launch new instance RedHat Enterprise Linux and add Security Group with Port 8080 open for internet.

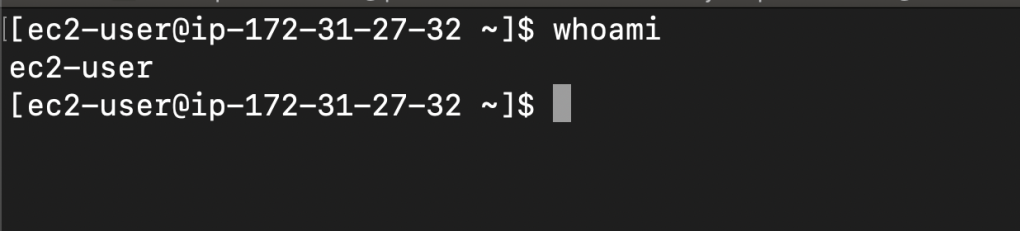
Step 2: You can see the server is started, connect to your terminal/console from your workstation system.
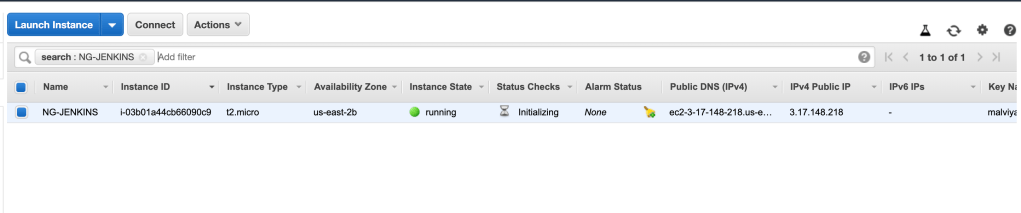
Now click on connect and connect using your key.
Step 3: Now you’re connected, first we will be installing Java and then will be installing Jenkins
Step 4: Install Java using below command
$yum install java-1.8*
Verify the installation and java version using and set the path variable of Java
java -version
find /usr/lib/jvm/java-1.8* | head -n 3
$ vi .bash_profile
#JAVA_HOME=
export JAVA_HOME
PATH=$PATH:$JAVA_HOME
# To set it permanently update your .bash_profile
source ~/.bash_profile

And you’re done! Congratulations you’ve successfully Installed Java on your EC2 instance and updated the path variable.

One thought on “Install Java on EC2”