We’ve already seen Jenkins Architecture and Jenkins Master Slave concept, In this post we will be seeing how to install Jenkins inside Apache Tomcat Server.
For those who don’t know what is Apache Tomcat please refer this
In this first we will be installing Java on our server then Tomcat and then jenkins.
Launch a Server in my case I’m using AWS EC2 RHEL machine.
You can create an user if you want or you can log in into the root user and start working.
Install Java
yum install java-1.8.0-openjdk-devel -y
Navigate to opt
cd /opt/
Create a folder Tomcat
mkdir tomcat
cd tomcat
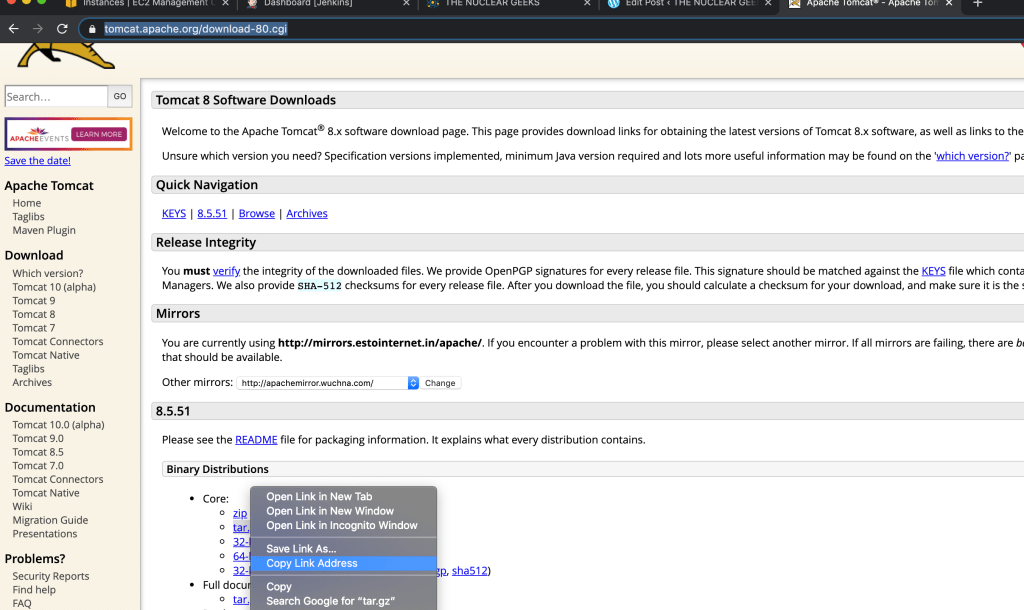
Open https://tomcat.apache.org/download-80.cgi and copy the link of latest version or which you want to download.
Navigate to terminal and type
yum install wget -y
wget http://mirrors.estointernet.in/apache/tomcat/tomcat-8/v8.5.51/bin/apache-tomcat-8.5.51.tar.gz
tar -zxvf {file.tar.gz}
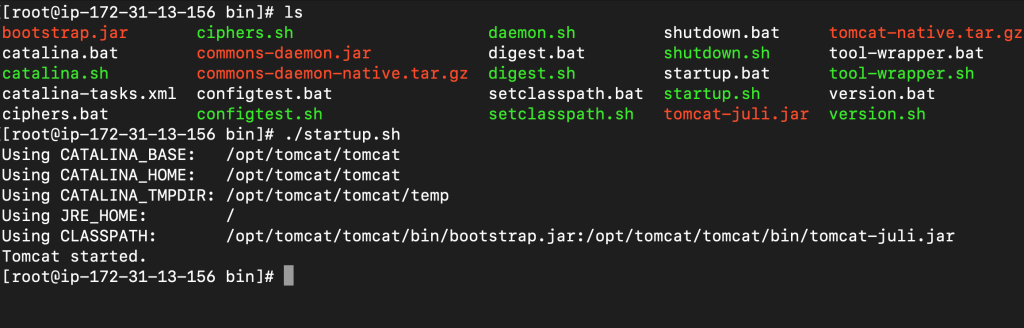
Type ls to check the content of Tomcat
ls

You can see tomcat is installed. Now let’s run the tomcat server
For the simplicity I’ve rename the file
mv apache-tomcat-8.5.51 tomcat
Now navigate to bin and run startup.sh
cd tomcat
cd bin
./startup.sh
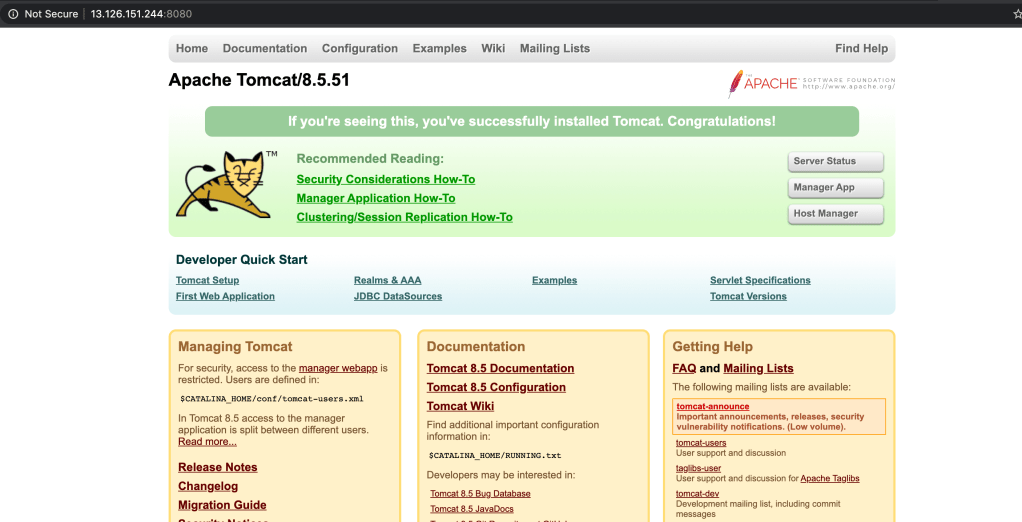
Make sure your port 8080 is opened, Now open the browser type localhost or server public ip followed by port and see whether tomcat is running or not.
Now Let’s install Jenkins
Navigate to https://updates.jenkins-ci.org/download/war/ and copy the link of any release which you want.
Now Navigate inside webapps in your tomcat folder and run following commands.
wget https://updates.jenkins-ci.org/download/war/2.222/jenkins.war
Now when you do “ls” you can see jenkins folder there.
Go to browser and after 8080 type jenkins
localhost/ip:8080/jenkins
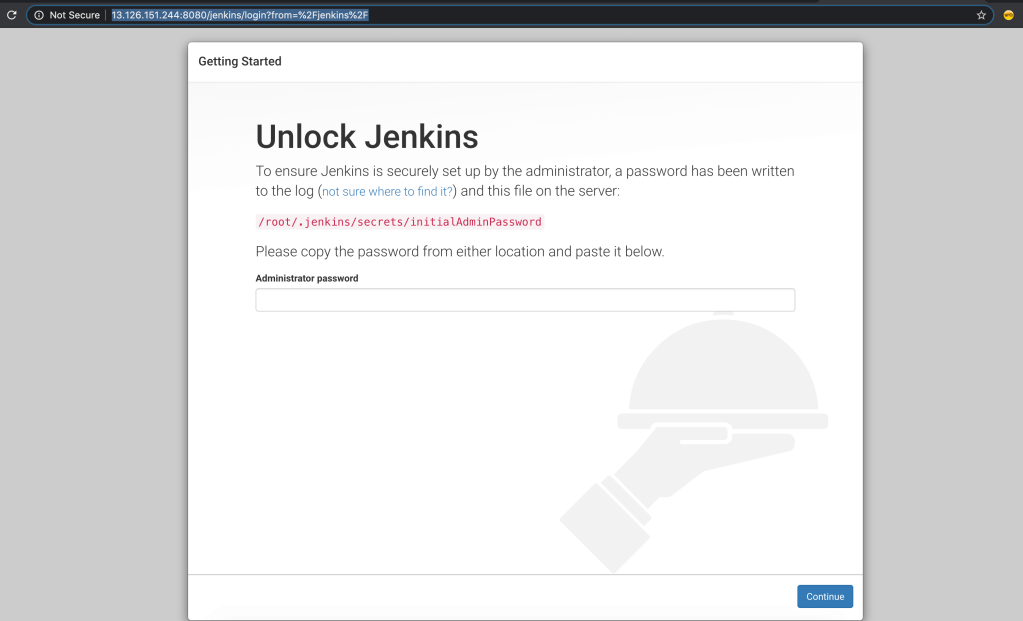
And you’re done!! Congratulations you’ve installed jenkins inside tomcat.

2 thoughts on “Install Jenkins inside Apache Tomcat”