We’ve already seen Introduction to Jenkins, Jenkins Architecture, Build first project in Jenkins.
In this post we will be seeing how we can build our first Spring Boot maven based Java Project in Jenkins. If you’re not sure what Jenkins is I would strictly recommend to go through Introduction to Jenkins, Jenkins Architecture, Build first project in Jenkins.
So let’s get started.
Step 1: Open Jenkins dashboard

Step 2: We’re going to use following code base, you can fork it or can use directly as its public https://github.com/aditya-malviya/JavaHelloWorld
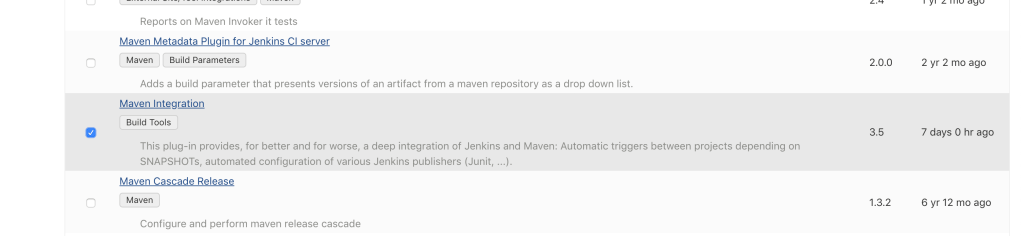
Step 3: As it’s maven based project we need to install maven plugins. So navigate to Jenkins dashboard -> Manage Jenknis -> Manage Plugins -> Select “Maven Integration” and download without restart.
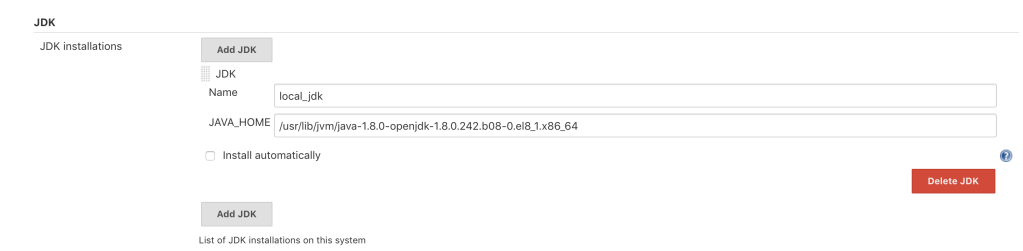
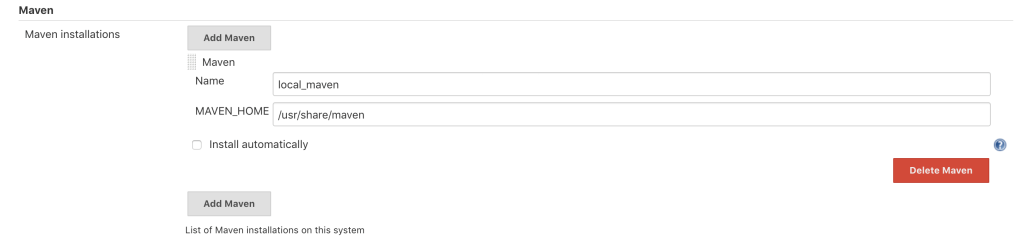
Step 4: We need to set the path for Java and Maven, we can do that by navigation from Jenkins Dashboard -> Manage Jenkins -> Global Tool Configuration and enter the path of Java and maven
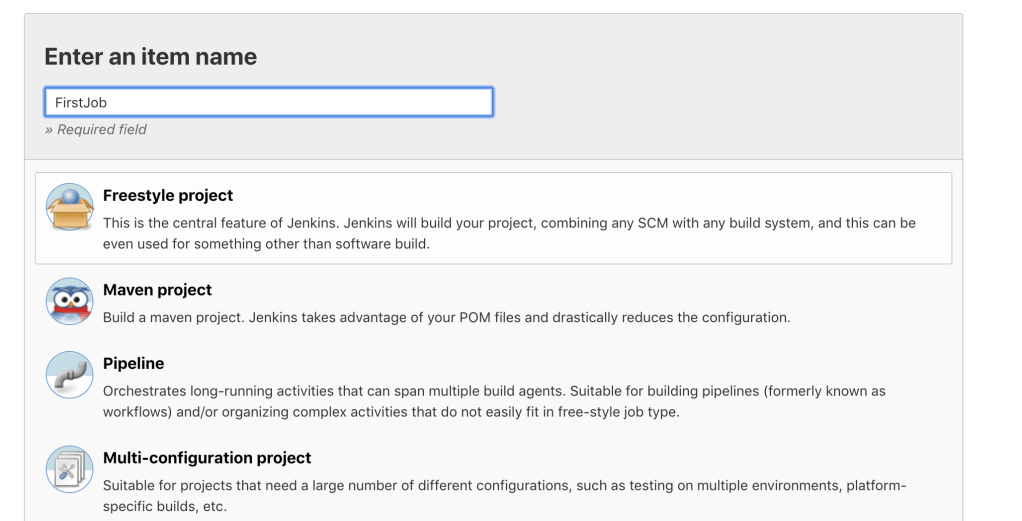
Step 5: Click on create job from Dashboard, select Maven Project, enter name FirstJob and click ok.
Step 6: In the description enter the description you want to add.
Step 7: In Source Code Management add the url of the above mentioned in GIT.
Since it’s a public repo you do not need to add password.

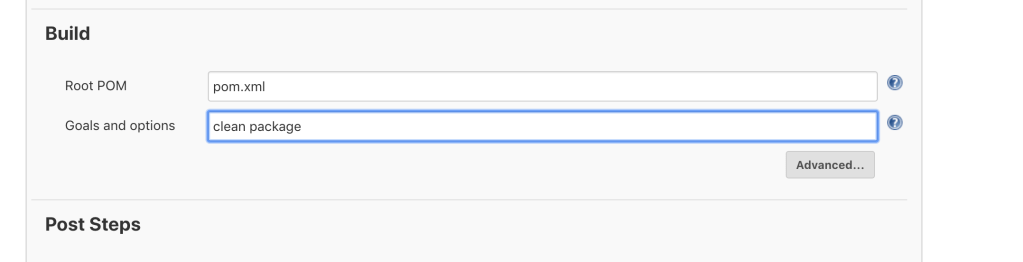
Step 8: Build, in build enter the path of your pom.xml file, In our case it’s in root so we can mention pom.xml directly.
Add maven goals, checkout this for maven goals. We will be using clean and package.
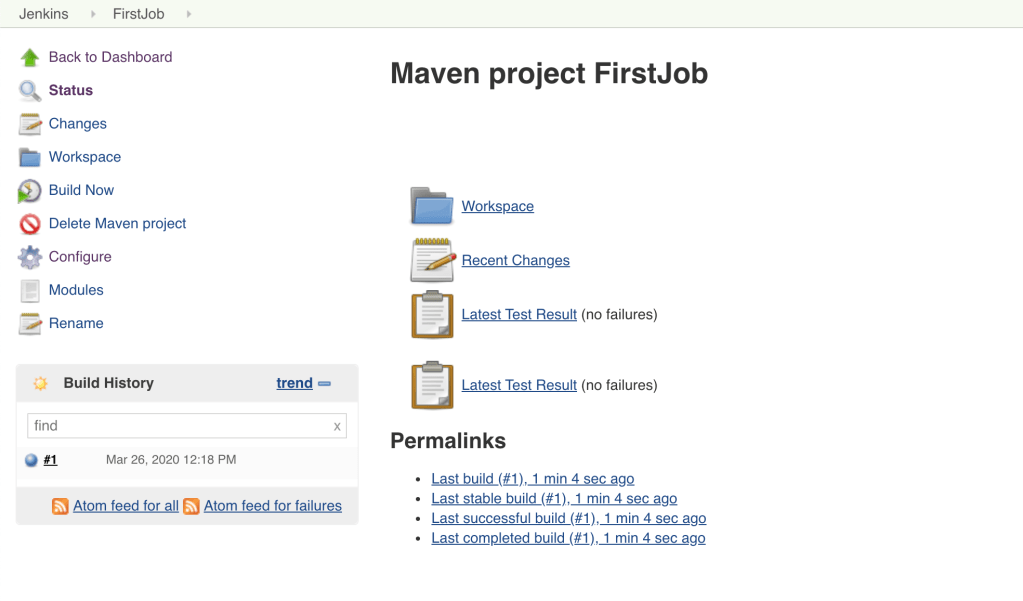
Step 9: Save and run the project. You can check out the log by hovering mouse over number 1 and you can see the console output.
In the next post we will be seeing integration of Sonatype Nexus and how to upload artifacts.

One thought on “Building a Spring Boot Application in Jenkins”