Many of you who wanted to get into DevOps, have come across a configuration management tool called “Chef“.
Chef is a configuration management tools that is used to manage the configurations on servers, I won’t be explaining in depth what is Chef in this tutorial, but you can go through this for more insights.
This tutorial assumes that you have basic knowledge of EC2 in AWS and creation of servers.
In this tutorial, we are going to install git on a virtual server created using AWS.
Requirement:
EC2 instance server in AWS Account, Chef server account and Workstation.
So, let’s get started.
Open AWS and make sure your server is up and running
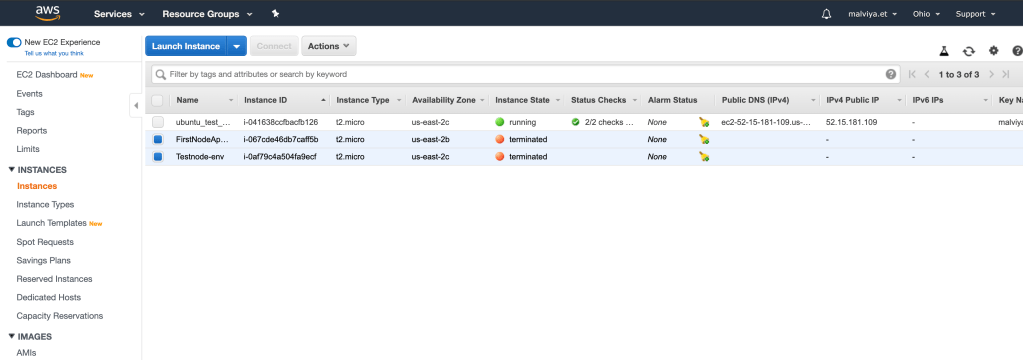
Now connect your server in my case “ubuntu_test” with my workstation.
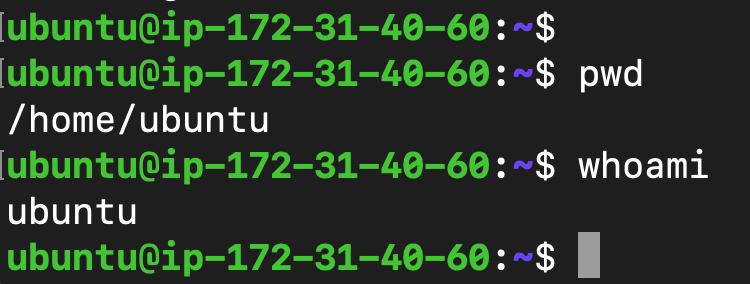
Here you can see I’ve logged in to my ubuntu server from workstation, if you’re not sure how to log in this place is not for you, you should read AWS EC2 Server connection first.
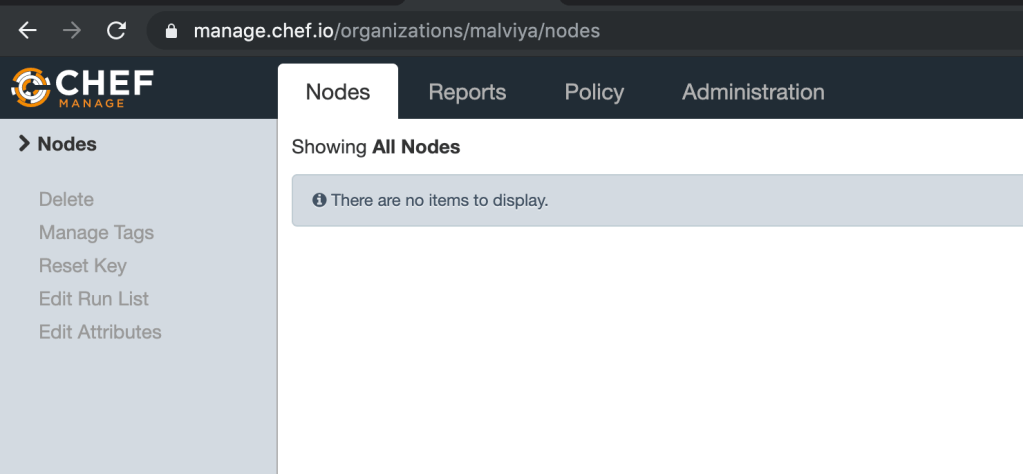
Next login to https://manage.chef.io/ and create account if you do not have. Download the chef-sdk, again if you’re not aware of these things you should first read configuration and work station for chef server.
In chef server or manager you can see as of now there’s no node available. What we’re going to do is our ubuntu server on AWS is going to be the node. So we’re going to upload our cookbook and recipe to chef server and from there it will be installed on the node, i.e ubuntu server.
Now we will be doing bootstrapping, which is adding of node to chef server, In our case we will be adding AWS ubuntu server to our chef server.
Use the command “$ knife bootstrap 123.45.6.789 -x username -P password –sudo “, In my case it will be “$knife bootstrap 43.235.15.110 -U ubuntu -I ./test.pem –sudo -N ip-172-31-34-131.us-east-2.compute.internal”
This will bootstrap your node, and you can see it in your sever.
Now we will be creating cookbooks
So Open the terminal and navigate to cookbook folder inside chef-sdk folder which you’ve installed. Now we will be creating a new cookbook name “git-cookbook”
In the terminal write “chef generate cookbook git-cookbook -b”
This will create one folder with name git-cookbook. If you open recipe folder inside the same you can see default.rb file created.
Now open default.rb and type “package ‘git'”

Now we need to upload this cookbook to server. For that we will be using two command.
Navigate inside git-cookbook and type “berks install” and “berks upload” this will upload the git-cookbook to the chef server.
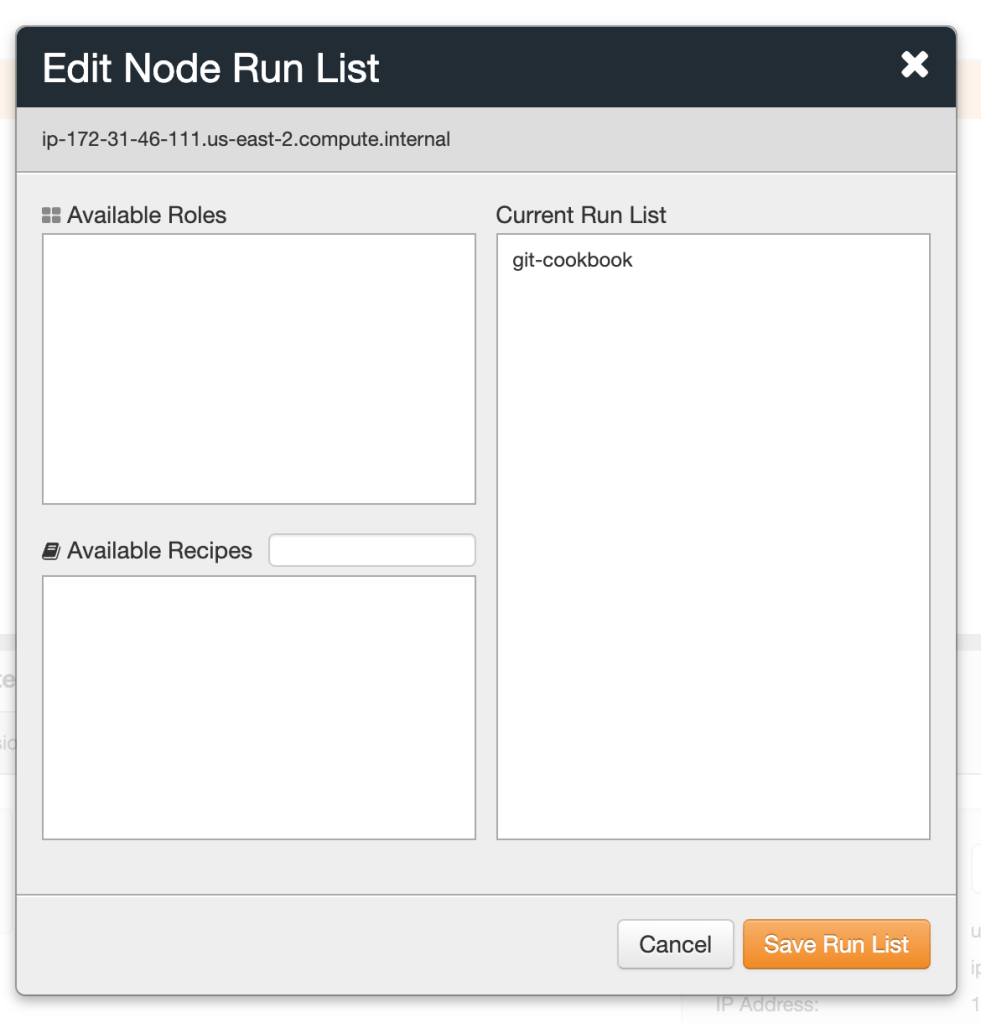
Now open chef server navigate to edit run list and move your git-cookbook from Available recipes to Current Run list.
Now open your ubuntu server from your terminal and check if git is installed or not.

You can see git is not installed! Now run the command “sudo chef-client” and wait for the magic to happen!!
Git will be installed on your Ubuntu server.
So I think this was good heads up to start with chef, in the next tutorial we will be seeing installing git over multiple servers.
