In the previous posts we’ve seen Jenkins Introduction, Jenkins Master slave or Jenkins Architecture, We’ve also seen how to install Jenkins inside Apache Tomcat.
In this post we will be seeing how to configure jenkins slave on linux.
In our previous post we’ve setup our jenkins master.
Step 1: Navigate to Manage Jenkins and click on add nodes.
Step 2: Initialize and launch one more EC2 machine or server which you want to make a slave/node.
Step 3: Install java on slave.
sudo apt install openjdk-8-jdk
Step 4: Create user jenkins-slave-ng-01
sudo adduser jenkins-slave-ng-01
Step 5: Login using the user (slave)
sudo su jenkins-slave-ng-01
So here our slave is ready!
Step 6: Generate private public key pair
cd
ssh-keygen -t rsa
Step 7: Move public key in authorized_keys
cd .ssh
cat id_rsa.pub > authorized_keys
Step 8: Change the permission of Authorized_keys
chmod 700 authorized_keys
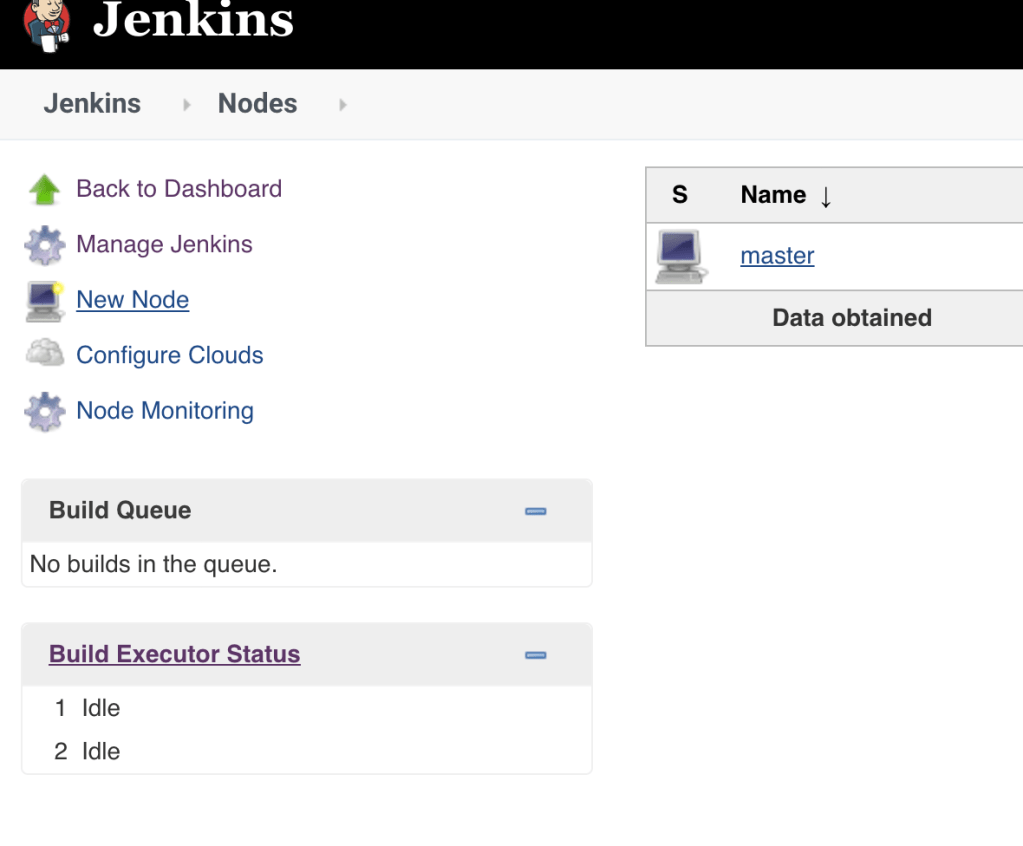
Step 9: Add new node in jenkins
Step 10: Add the details as shown
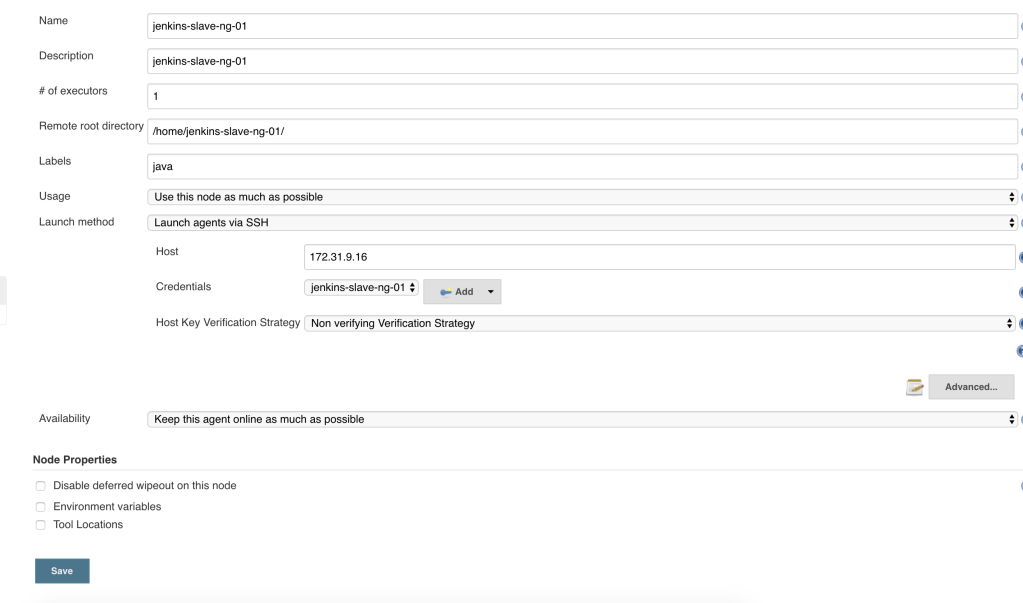
Let us try to understand each field.
Name: The name of the slave.
Description: Give the details about what it does.
No. of executors: An executor is an “OS Process” in the slave. You are able to run one job at a time if you have one executor. If you have two executors, you are able to run two jobs in parallel and so forth. It depends on number of CPU’s.
Remote root directory: Where we want to create or folders and sub folder for the jobs.
Labels: When creating a new slave node, Jenkins allows us to tag a slave node with a label. Labels represent a way of naming one or more slaves. We leverage this labeling system to tie the execution of a job directly to one or more slave nodes.
Usage: Enable the option based on need.
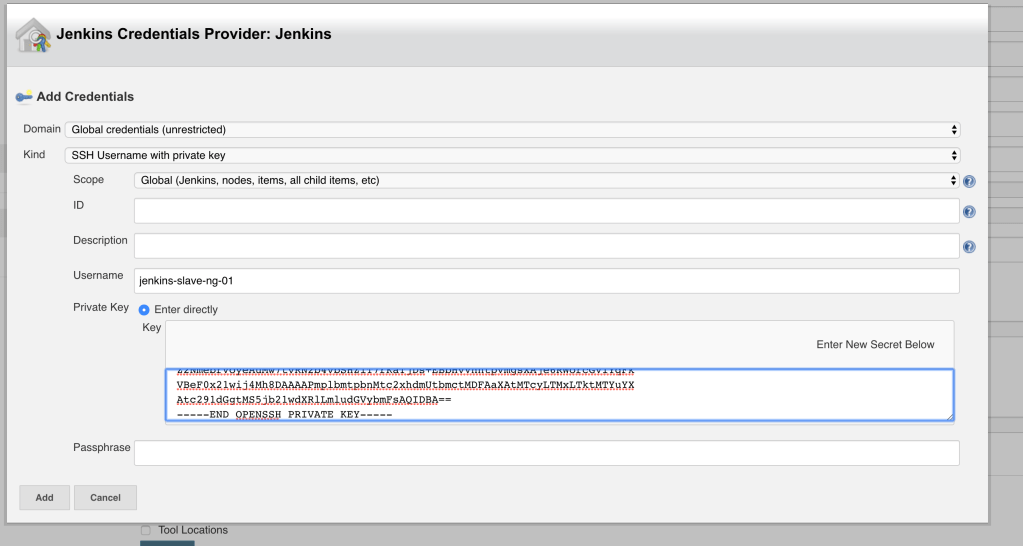
Launch method: Make it via ssh, add the details as shown.
Now open the Jenkins and refresh agent / node and you can see them up.
