
Providing efficient and customized access management for sensitive information is critical to upholding robust security and protecting a company’s confidential data. With HashiCorp Vault’s roles and policies, you can implement that control reliably and with assurance.
Prerequisites:
You require a running vault cluster for this activity. Refer to the official link https://developer.hashicorp.com/vault/docs/platform/k8s/helm/run for a refresher on running Vault.
Implementation:
Suppose you need to grant access to secrets in HashiCorp Vault depending on various job roles:
Developers
The team tasked with creating software applications.
SRE (Site Reliability Engineers)
The group in charge of overseeing infrastructure and deploying automation solutions.
Managers
Personnel who oversee the product from start to finish and lead the team.
Compliance Officers
Individuals accountable for verifying that the applications and product meet regulatory standards.
1. Develop policies tailored to each role within the Vault:

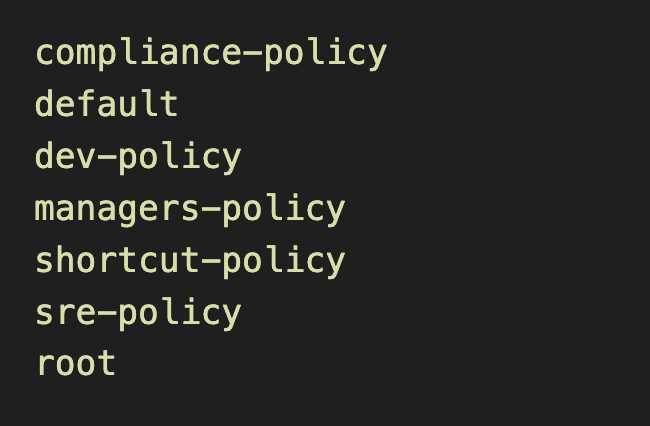
2. Confirm that all policies for these roles have been fully established by running the command:
vault policy listYou should see something like the following output –
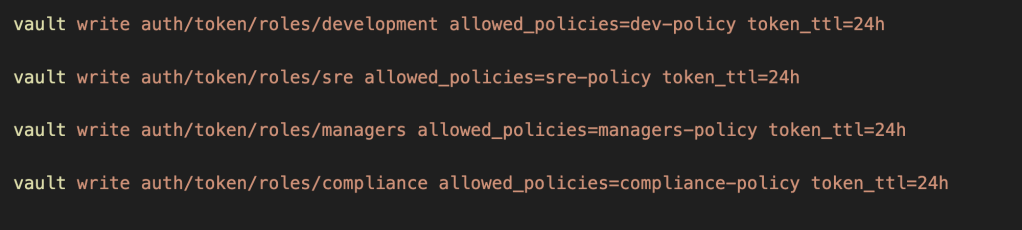
3. Set up roles for each position and link them to their corresponding policies:
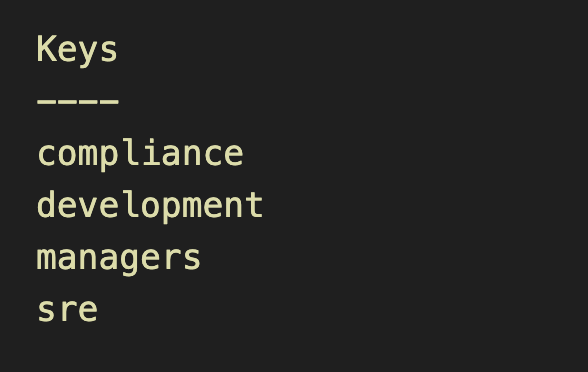
4. Make sure that all the roles are created:
vault list auth/token/rolesYou should see something like the following output –
5. Next, let’s generate a token based on the newly defined roles:
vault token create -role=development
Observe that the dev-policy is linked to this token.
In the same way, attempt to obtain a token for the SRE role.
vault token create -role=sre

6. Utilize the development token:
- Store a secret –
export VAULT_TOKEN=<development-role-token>
vault write kv/development/passwords dev-passwd="shortcut"
Given that your development role token is authorized for the kv/development path, you should encounter no problems when saving the secret.
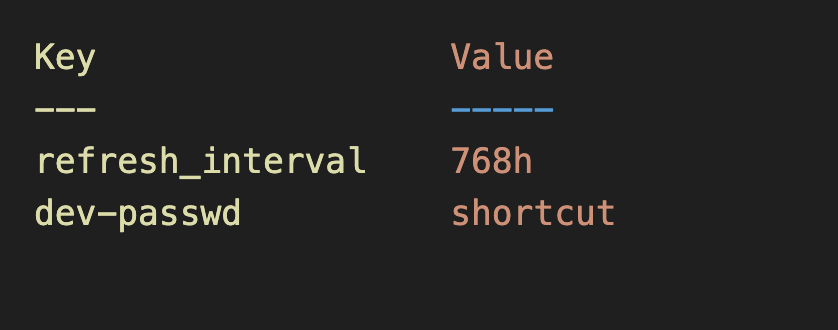
- Retrieve the secret you recently stored –
vault read kv/development/passwordsYou should expect to see output similar to what follows:
7. Utilize the sre token similarly:
- Store a secret –
export VAULT_TOKEN=<sre-role-token>
vault write kv/sre/passwords dev-passwd="shortcut-sre"
Given that your sre role token is authorized for the kv/sre path, you should encounter no problems when saving the secret.
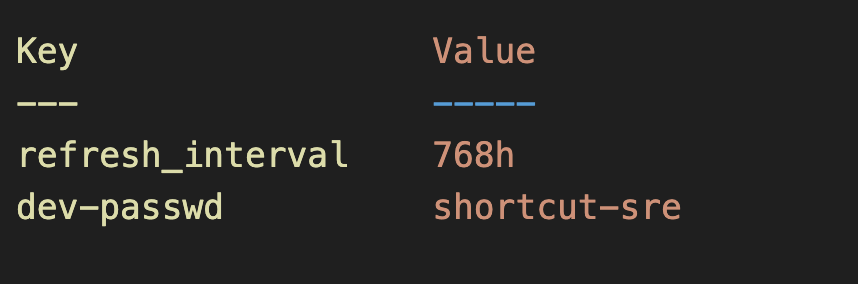
- Retrieve the secret you recently stored –
vault read kv/sre/passwords
You should expect to see the output similar to development process as follows:
8. Now attempt to access the development password using the SRE token:
export VAULT_TOKEN=<sre-role-token>
vault read kv/development/passwords
You should encounter an error resembling something like this –

Because the SRE policy restricts reading or writing secrets beyond the kv/sre/* path, the SRE token cannot access any development secrets.
Well done! You’ve now mastered setting up access control with Vault roles and policies. One final point to understand: policy updates take effect immediately. Since tokens retrieve policies dynamically, any changes to a policy will instantly affect all active tokens tied to it.
